 Wishlist
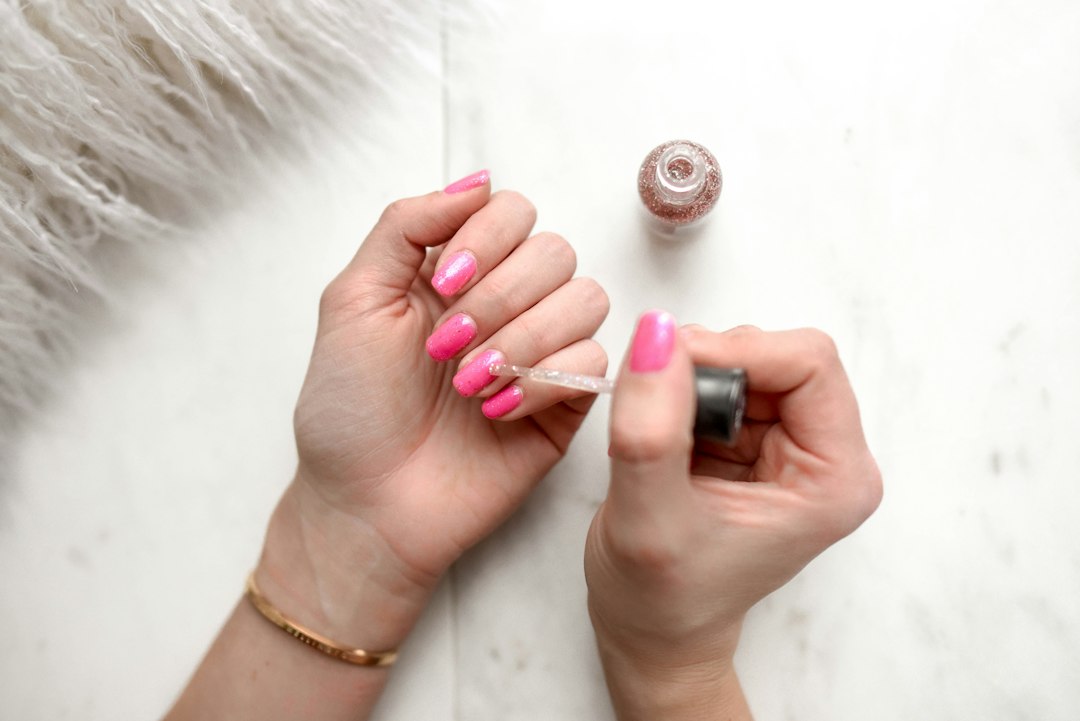
Bottom line first: You can get a salon-style manicure at home with modest tools and a simple, repeatable order—clean, shape, prep, polish, seal—done patiently and with proper curing if you use gel.
Salon-style manicure in this guide means neat cuticles, even shaping, smooth color application and a durable finish. Read on for the exact sequence, product suggestions, timing, and quick fixes so a beginner leaves the house (or camera) with professional-looking nails.
What success looks like and what you'll need
A salon-quality result will have a consistent shape on every nail, clean skin around the nail bed, no streaks in the color, and chip resistance for at least a week with regular polish or 2+ weeks with gel. Gather these essentials before you start:
- Manicure kit: nail clippers, straight or curved file (180–240 grit), buffer block, cuticle pusher, cuticle nipper or trimmer, orange stick.
- Polish trio: base coat, color, top coat (or a gel base, color, top + LED/UV lamp).
- Acetone or polish remover, lint-free wipes or cotton pads, a small bowl of warm soapy water, and a clean towel.
- Optional but helpful: nail dehydrator/primer, cuticle oil, a small angled brush for cleanup, and hand lotion.
Organize the workspace for control
Work at a flat table with a towel or manicure mat, a lamp, and everything within reach. Good lighting and a stable chair keep your hand steady; resting the arm on the towel reduces shaking when applying polish.
Step-by-step: prep and shaping (the most important stage)

- Remove old polish and soak. Use remover to clear previous polish. Soak hands 2–3 minutes in warm, soapy water to soften cuticles.
- Trim and file. If nails are long, clip first to the desired length. File in one direction with a 180–240 grit file to prevent splitting; pick a shape (square, squoval, almond) and match it across all nails.
- Push back and trim cuticles carefully. Gently push cuticles back with a pusher. Only trim excess hangnail skin with nippers—never cut healthy cuticle tissue. Over-trimming causes tears and infections.
- Buff lightly and clean. Use a fine buffer to smooth ridges; don’t over-buff (one or two gentle passes). Wipe nails with acetone or a nail cleanser to remove oils—this improves adhesion.
Polish application for a smooth, salon-style finish
The key is thin, even layers and clean edges.
- Apply base coat. One thin coat seals the nail and evens the surface. If using gel, apply base coat and cure per lamp instructions (usually 30–60 seconds for LED).
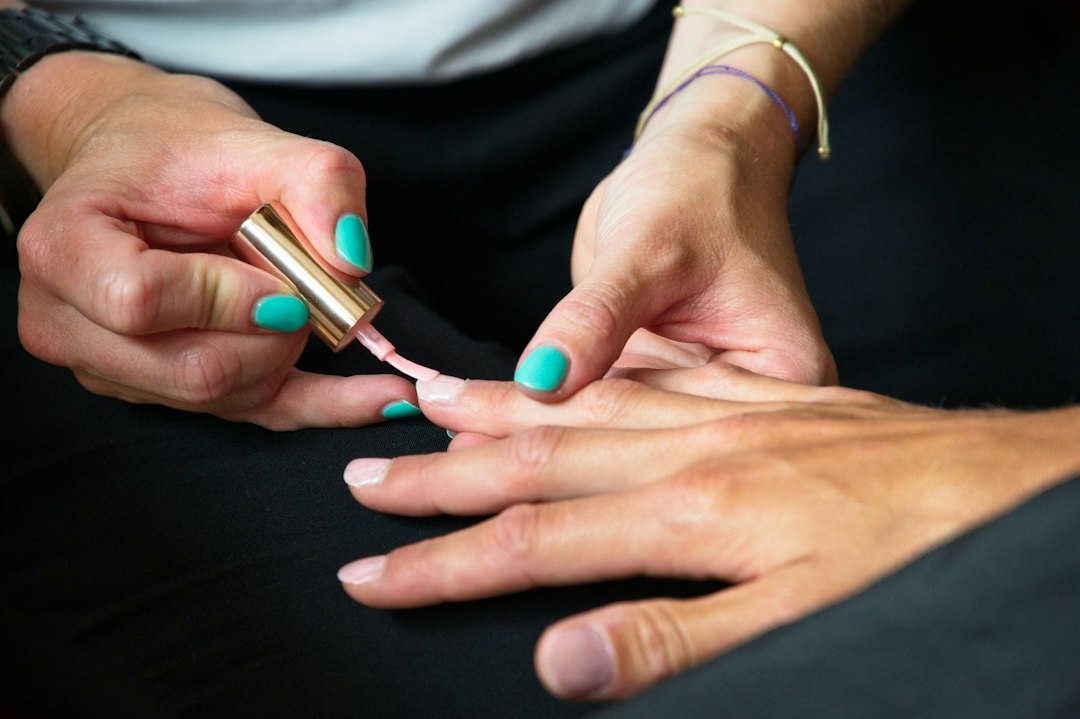
- Color: three-stroke method. Load the brush with a small bead of polish. Place a stroke down the center, then one on each side. Wipe excess from the brush between nails. Two thin coats beat one thick coat—wait 60–90 seconds between coats for regular polish.
- Edge cap the tip. Lightly swipe the polish brush across the free edge to seal tips and reduce chipping.
- Finish with top coat. A glossy, durable top coat or a gel top coat cured under the lamp locks everything in. For regular polish, apply a fast-dry top coat and allow 10–15 minutes of undisturbed drying; gel top coats require curing per the product instructions.
Troubleshooting common beginner issues
- Streaky color: Make sure your layers are thin. Shake (not vigorously) or roll the polish bottle between palms to mix pigments.
- Bubbling: Caused by shaking, thick coats, or applying polish to warm nails. Use thinner layers and wait longer between coats.
- Peeling or lifting: Clean the nail with acetone before polishing; avoid oil or lotion near the plate. If using gel, ensure full curing—under-curing causes lifting.
- Smudges before dry: For regular polish, dip fingertips in cool water after top coat to speed setting; alternatively, use a quick-dry spray or top coat designed to set visibly faster.
When to choose gel versus regular polish
Choose gel polish if you want durability, high shine, and chip resistance for 10–21 days; you'll need a base, color and top gel coat plus an LED/UV lamp. Regular polish is faster to remove and kinder to the natural nail long-term if you alternate with non-painted periods. For beginners, practice with regular polish to master shape and application before investing in gel kits.
The Beetles Gel Nail Polish Kit (ID 5000) is a strong choice if you plan to do gel at home: it includes multiple colors and the coatings needed to build durable salon-style layers.
Aftercare to keep the manicure fresh
- Apply cuticle oil daily to maintain flexibility and prevent chips.
- Wear gloves for heavy cleaning or gardening to prevent chips and stains.
- For gel manicures, avoid peeling; use proper remover wraps or soak-off acetone to remove safely.
- Clean, dry workspace with good light and a towel
- Manicure kit: clippers, file, buffer, pusher, nippers
- Base coat, color, top coat (or gel trio + lamp)
- Acetone/nail cleanser and lint-free wipes
- Cuticle oil and hand cream for aftercare
A salon-style manicure at home is achievable by following a clear sequence: prep, shape, clean, thin coats, and proper sealing/curing. Start with regular polish to master technique, then add a gel kit if you want longer wear.
How long should I wait between coats of regular polish?
Wait about 60–90 seconds for thin coats; ensure the previous layer is set to the touch to avoid lifting or bubbles.
Can I do a gel manicure without a lamp?
No—gel polish requires an LED or UV lamp to cure properly; otherwise it won't harden and will remain tacky.
Is it safe to trim my cuticles at home?
Trim only visible loose skin or hangnails. Avoid cutting live cuticle tissue; push back gently and use a nipper carefully if necessary.
How do I remove gel polish without damaging nails?
File the top layer lightly, then soak nails in acetone using foil wraps or remover clips until the gel softens; use a cuticle pusher to gently lift the softened gel and finish with nail oil.